- Type:
- Industry News
- Date:
- 2025-04-10
Industry News
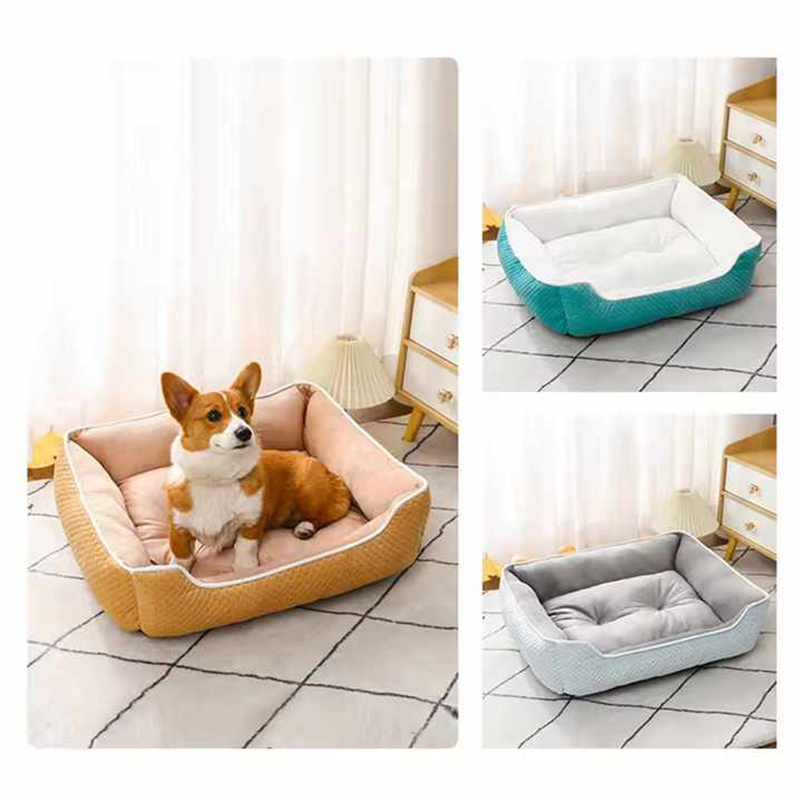
DIY Pet Cube Bed: How to Make a Stylish & Budget-Friendly Version
Creating a cozy and stylish home for your pet doesn't have to be expensive or complicated. With a little creativity and some basic tools, you can make a DIY Pet Cube Bed that not only looks great but also provides a comfortable resting spot for your furry friend.
Materials and Tools
Before you start, gather the necessary materials and tools for your DIY Pet Cube Bed project. Here's a list of what you'll need:
1. Fabric for the cover (Choose a durable and stylish material, such as corduroy, plush cat beds, or velvet dog bed fabric)
2. Insulation or padding material (for comfort)
3. Sewing machine or needle and thread (for assembling the bed)
4. Scissors or fabric cutter (for cutting the fabric)
5. Measuring tape or ruler (for precise measurements)
6. Fabric marker or chalk (for marking the fabric)
7. Pins or clips (for holding fabric in place while sewing)
8. Optional: Decorative elements (such as buttons, ribbons, or embroidery)
Step-by-Step Guide
Step 1: Planning and Designing
Start by planning the size and shape of your pet cube bed. Measure your pet's length and width to ensure the bed will be a comfortable fit. Sketch out a design for your bed, including the dimensions and any decorative elements you want to incorporate.
Step 2: Cutting the Fabric
Using your measurements, cut out the fabric pieces needed for your pet cube bed. You will need two pieces for the sides of the cube, two for the top and bottom, and one for the back. Remember to add an extra inch to each side for the seam allowance. If you're using plush cat beds or velvet dog bed fabric, ensure that the pattern is aligned correctly when cutting.
Step 3: Sewing the Cube
Pin the fabric pieces together, making sure to leave an opening for turning the bed right side out and for adding the padding. Sew the pieces together, and then trim any excess fabric from the seams.
Step 4: Adding Padding
Choose an appropriate padding material for your pet cube bed. This could be a foam or a thick layer of batting. Cut the padding to fit the inside dimensions of your cube and insert it through the opening in the fabric.
Step 5: Closing the Bed
Sew the opening closed, and then turn the bed right side out, ensuring that the padding is positioned correctly. Press the seams with an iron for a professional finish.
Step 6: Adding the Final Touches
Now it's time to add any decorative elements you've chosen. This could be anything from piping trim to buttons or even embroidery. Be creative and make the pet cube bed uniquely yours.
Step 7: Maintenance and Care
To keep your pet cube bed looking its best, regularly brush off any loose hair and spot clean as needed. For a deeper clean, remove the cover and wash it according to the fabric care instructions. plush cat beds and velvet dog bed fabrics may require dry cleaning, while corduroy pet bed fabric can often be machine washed.
A DIY Pet Cube Bed is not only a stylish addition to your home but also a labor of love for your pet. By following these steps, you can create a comfortable and stylish resting spot that your pet will cherish. Not only will you save money by making your own pet bed, but you'll also have the satisfaction of knowing that you've crafted something special for your four-legged friend.
Related Products
-
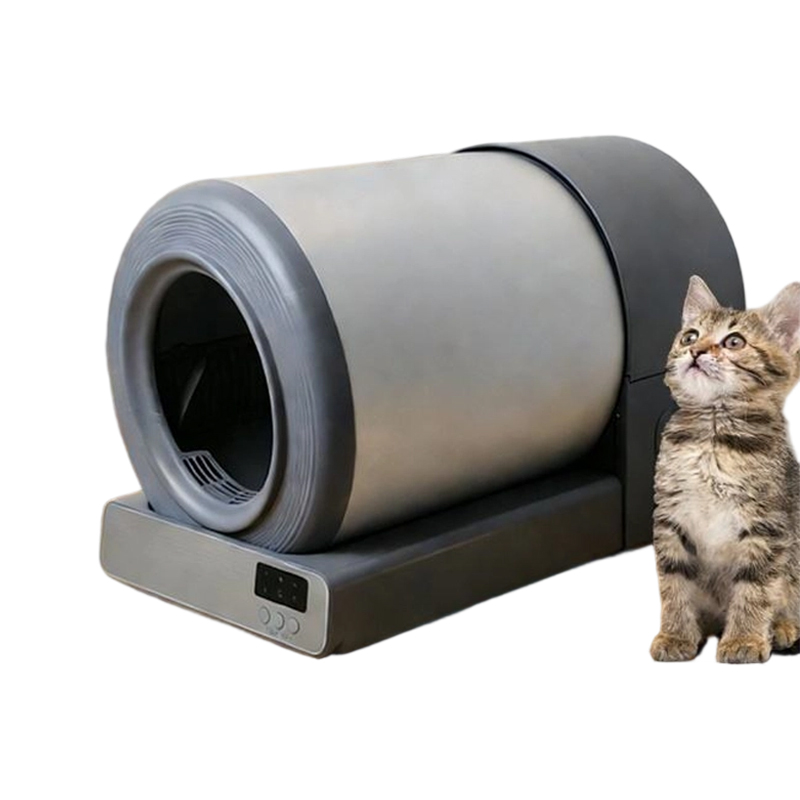
Cat Litter Tray For Multiple Cats Automatic Cat Litter Tray
Cat Litter Tray for Multiple Cats Automatic Cat Litter Tray – Product Features The high-pressure washable, safety-focused design facilitates compr...
View More -
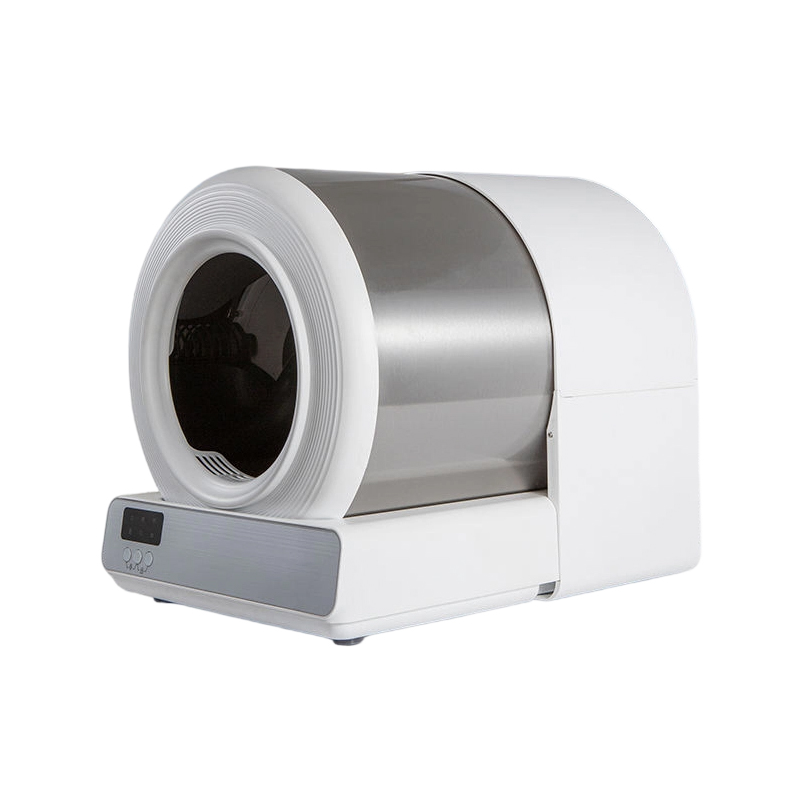
Self-Cleaning Stainless Steel Smart Cat Litter Tray
Self-Cleaning Stainless Steel Smart Cat Litter Tray – Product FeaturesThe preferred choice for non-profit organisations; compatible with open-top bi...
View More -
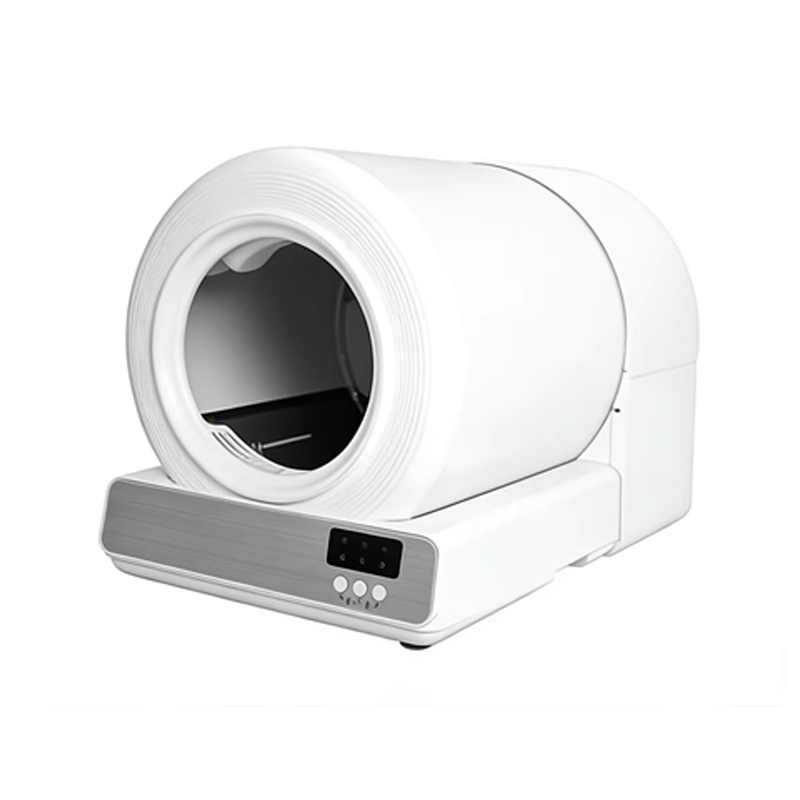
Second-Generation Fully Automatic Cat Litter Tray
Second-Generation Fully Automatic Cat Litter Tray – Product Features With a large 65-litre capacity, it easily accommodates a substantial amount of ...
View More -
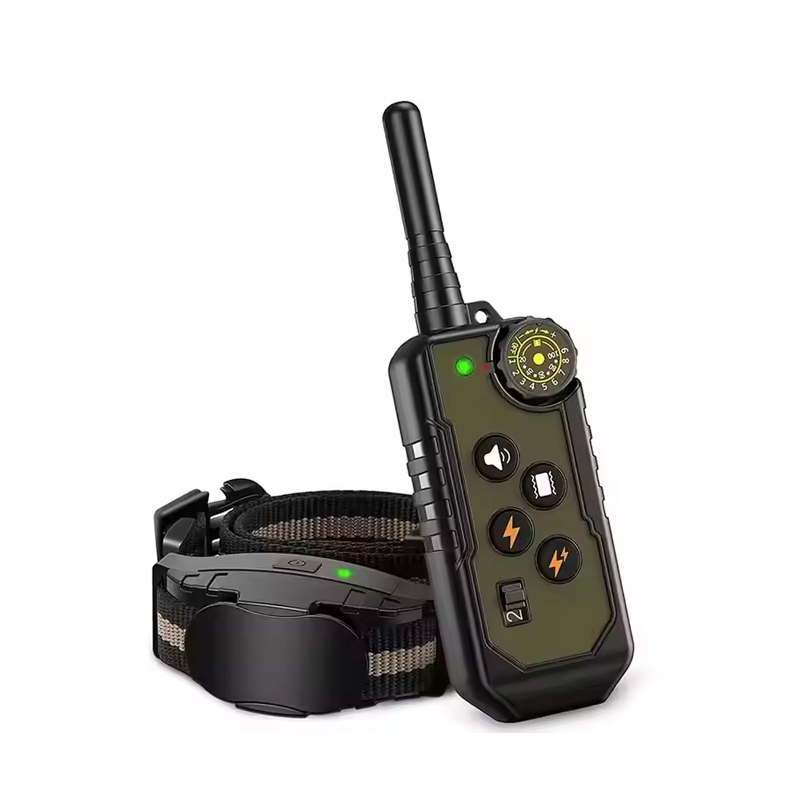
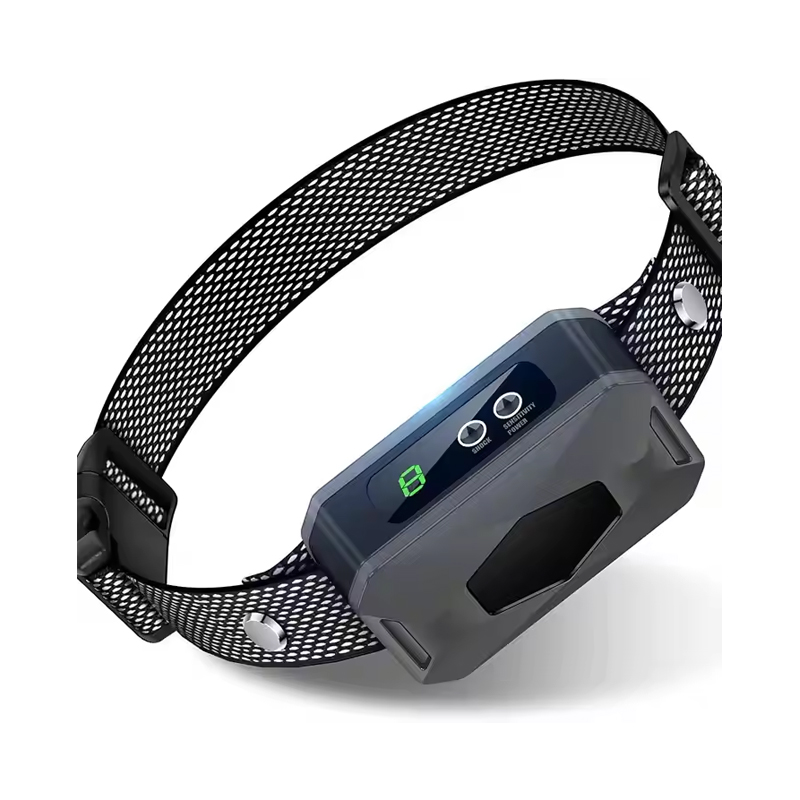
Multi-Mode Easy To Operate Training Shock Collar
The Multi-mode, easy-to-operate training Shock Collar is designed to provide a practical solution for owners seeking a safe and effective way to train...
View More -
Waterproof Adjustable Polyester Training Shock Collar
The Waterproof Adjustable Polyester Training Shock Collar offers a reliable solution for pet owners seeking a versatile and durable collar to enhance ...
View More -
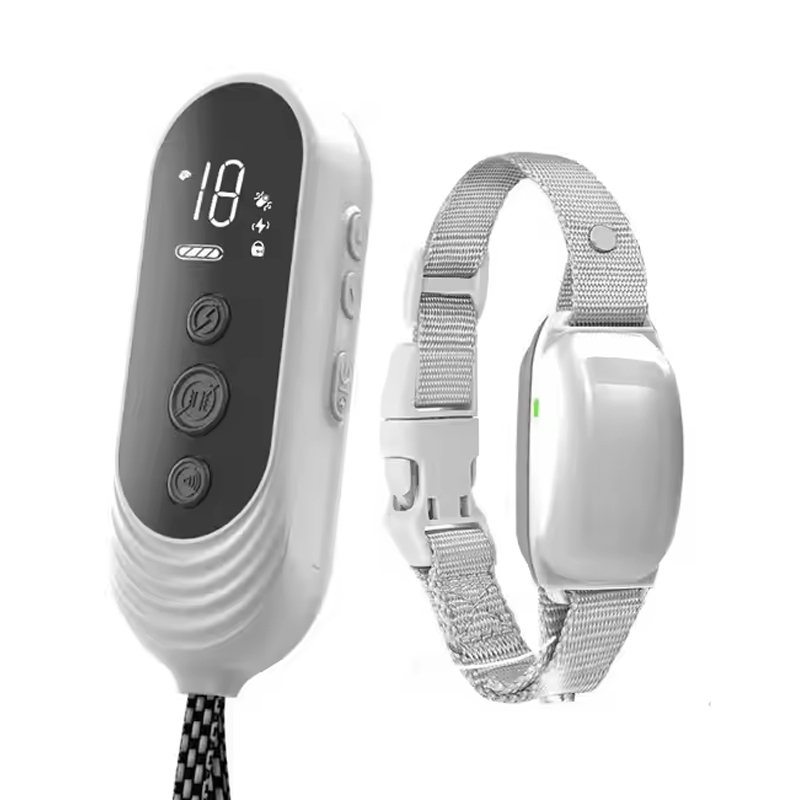
Display Remote Control Training Shock Collar
The Display Remote Control Training Shock Collar is designed to provide pet owners with a reliable and humane solution for training their dogs. Whethe...
View More -
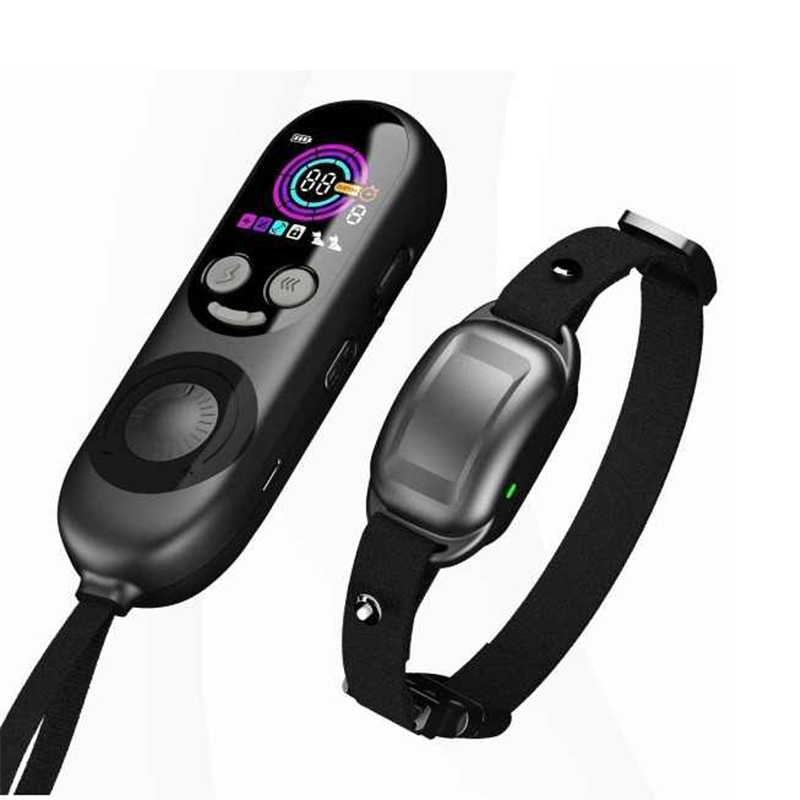
Multi-Function Long Distancetraining Shock Collar
The Multi-function Long Distance Training Shock Collar is a highly versatile tool designed to support your dog’s training across various environment...
View More -
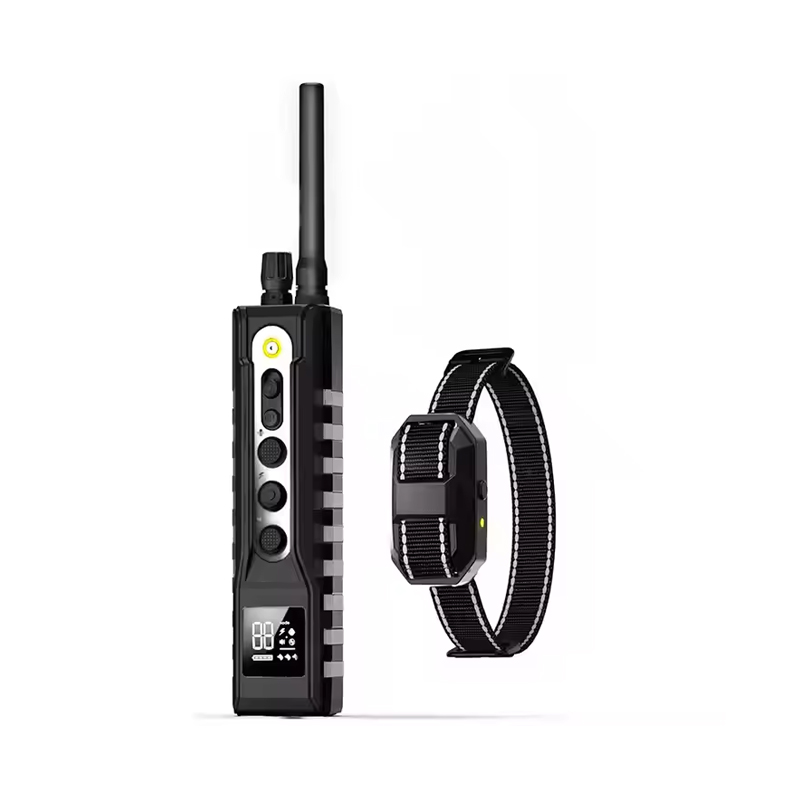
Remote Control Waterproof Training Shock Collar
The Remote Control Waterproof Training Shock Collar is an advanced training tool designed to help pet owners effectively manage their dogs’ behavior...
View More
Pet Products
If you have any questions, please
get in touch with us.
+86-13486854214
E-mail: [email protected]
Address: No. 258, Qingchuan Road, Huzhen Town, Jinyun County, Lishui City, Zhejiang Province
Copyright © Zhejiang Beijing Technology Co., Ltd.

OEM/ODM Smart Pet Care Factory