- Type:
- Industry News
- Date:
- 2026-02-03
Industry News
How to Clean and Maintain a Intelligent Pet Food Dispenser
Intelligent pet food dispensers are becoming a familiar sight in modern homes. As lifestyles change and schedules grow less predictable, these devices are increasingly seen as practical tools rather than novelty items. Alongside growing adoption, attention is shifting toward an important topic that directly affects daily use: cleaning and maintenance.
Industry discussions now focus not only on smart feeding features, but also on hygiene, durability, and long-term reliability. A well-maintained dispenser supports consistent feeding routines and helps reduce common household concerns related to odor, residue buildup, and mechanical wear. Proper care is no longer viewed as optional. It is part of responsible pet ownership.
Why Cleaning and Maintenance Matter More Than Before?
Pet food dispensers regularly handle dry or semi-moist kibble, which means they gradually accumulate fine dust, food oils, and ambient moisture inside the mechanism and hopper.
Without consistent cleaning, this residue can disrupt smooth food dispensing, reduce kibble freshness, and degrade the unit's overall reliability.
From a user-experience standpoint, how easy (or difficult) a dispenser is to maintain has a big impact on long-term satisfaction. Today's pet owners want smart devices that stay dependable and hygienic without demanding excessive time or effort. A model that disassembles and cleans quickly tends to build stronger confidence and loyalty.
Proper maintenance also directly supports pet health. Neglected interiors can start to smell off, encourage mold in humid conditions, or even draw insects and other pests—issues that compromise food quality even when the outside still looks perfectly fine.Regular attention to those hidden areas keeps everything working as intended and helps protect your pet's well-being.
What are the main areas requiring care?
Although designs vary, intelligent pet food dispensers generally share similar structural zones. Each area presents different cleaning needs.
Food Storage Area
This is where dry food is stored before dispensing. Oils from kibble can coat interior surfaces over time. Even without visible residue, fine particles can settle along corners and edges.
Dispensing Channel
The pathway that guides food toward the bowl is often narrow. Small crumbs may collect here, especially in humid environments. Regular inspection helps prevent blockages.
Feeding Bowl or Tray
This area is exposed to pets and should be cleaned frequently. Food fragments and saliva can remain after each meal.
Exterior Surface
While it does not come into direct contact with food, the outer shell can gather dust and pet hair. Keeping it clean helps maintain a tidy feeding space.
How to establish a practical cleaning process?
Industry pros point out that maintenance feels far less daunting when it's built into a steady, repeating schedule rather than something you only tackle once trouble shows up. Proactive little routines prevent most common issues and keep the dispenser performing like new.
A straightforward tiered plan tends to fit naturally into daily pet care:
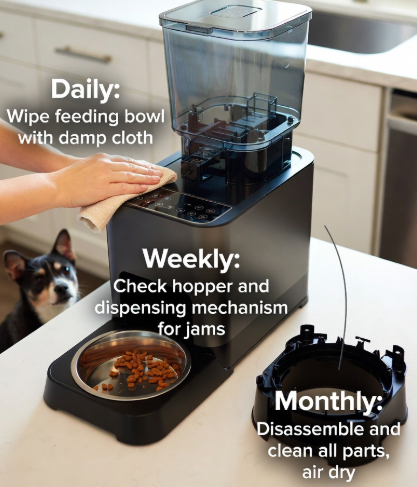
- Daily quick maintenance — Focus on the parts everyone (pets and people) touches most often: the bowl where food lands, the exit chute, any external buttons, lid, or rim. A fast wipe with a damp cloth or sponge clears away crumbs, drool, or minor spills before they cake on.
- Weekly internal check-ins — Dive into the less obvious zones like the food reservoir (hopper), the spinning mechanism or slide that releases kibble, and any removable trays or seals. Dump out any stale leftovers, brush away dust and fine particles, and give surfaces a gentle clean. This step stops buildup from turning into clogs or stale smells.
- Monthly (or every few weeks, depending on use) full refresh — Follow the manual to take the unit apart as much as possible. Clean all accessible pieces thoroughly—sometimes soaking non-electronic parts if the maker allows—rinse well, dry completely, and look over everything for signs of wear. This deeper reset keeps the dispenser fresh, reliable, and working longer overall.
Breaking it down this way matches how most people already handle pet feeding: quick touches during meals every day, a weekend catch-up, and an occasional more thorough session. The routine becomes second nature instead of feeling like extra work, which helps avoid neglected spots, keeps food flowing smoothly, and ensures meals stay safe and appealing for your pet.
How to care for daily life?
Daily cleaning stays simple on purpose—no special tools, no lengthy process, just steady consistency to stay ahead of buildup.
After each meal (or at least once a day), give the feeding bowl a quick wipe-down. This stops any leftover bits of wet food, oils, or saliva from drying into stubborn crust. If the bowl detaches easily, pop it off and give it a fast rinse under warm water—that usually does the job. Make sure to dry it thoroughly with a towel before snapping it back in place; leftover moisture can sneak into the mechanism and invite problems over time.
Take a moment to glance at the base of the unit and around the dispensing outlet. Sweep or wipe away any stray kibble pieces that tend to collect there. A soft, dry cloth handles this in seconds and keeps your floor tidy while cutting down on the chances of ants or other pests showing interest.
These tiny, low-effort steps blend right into your normal pet-feeding rhythm—wipe while you're already there, rinse during dish time—and they go a long way toward keeping the whole dispenser fresh and trouble-free without ever feeling like extra work.
Occasional Deep Cleaning Practices
Every so often, it's worth setting aside time for a more complete cleaning session. This isn't something you need to do every week—once a month or every few weeks, depending on how heavily the dispenser is used—but it acts like a full reset that keeps everything running at its best.
Start by taking apart any removable sections according to the manual: the hopper lid, food reservoir (if it comes out), dispensing chute or wheel, bowl, and any trays or seals. Separating these pieces gives you clear access to spots that quick daily wipes can't reach, like crevices where dust and oil tend to settle over time.
Clean each part individually—warm soapy water usually works well for non-electronic pieces, followed by a thorough rinse. Let everything air-dry completely before reassembling; rushing this step with a damp component can trap moisture inside the unit and cause issues down the line.
While you're handling the pieces during one of these deeper cleans, take a quick look over everything. You'll often spot subtle early clues of wear—maybe a slightly rough edge on the auger, a bit of plastic discoloration, minor scratches on moving parts, or even a loose fit somewhere. Catching these things early lets you address them (a gentle adjustment, contacting support, or just keeping an eye on it) long before they start causing jams, uneven dispensing, or other performance drops.
This occasional thorough session keeps the dispenser hygienic, helps it last longer, and gives you peace of mind that the hidden areas are as clean and functional as the outside looks. It's low-stress preventive care that pays off in consistent, reliable feeding for your pet.
How to handle humidity and environmental factors?
Environmental conditions influence maintenance needs. Homes with higher humidity may see faster buildup inside food storage areas. In drier climates, static and fine dust may be more noticeable.
Placing the dispenser away from direct sunlight and moisture sources supports consistent performance. The surrounding environment plays a role in how often cleaning is needed.
Ventilation also matters. Allowing air to circulate around the device helps prevent trapped moisture.
How to control odor through daily care?
Odor is one of the most frequent complaints people mention about pet food dispensers, but in most cases, it's not a sign that the unit is faulty—it's usually just trapped food residue, oils, or moisture that has had time to sit and ferment inside.
Staying on top of regular cleaning directly tackles this. Wiping down the feeding bowl after every use (or at least daily) and giving the internal surfaces—like the hopper walls, dispensing chute, and any auger or slide—a gentle scrub during weekly or deeper sessions removes the sticky film and particles that are the real source of smells. The key is consistency; letting residue build up for weeks is what turns a faint whiff into a persistent stink.
Equally important is making sure every cleaned part dries fully before you put it back together and add fresh food. Even a little leftover dampness in hidden corners can encourage bacterial growth or mold, which quickly brings odors back. Air-drying thoroughly (or patting dry with a clean towel) creates a neutral, dry environment that doesn't give smells a foothold.
The best approach to odor control isn't reaching for sprays, deodorizers, or covers—those only mask the problem temporarily. Instead, focus on prevention: remove the food sources (residue and moisture) through routine cleaning, and the dispenser stays fresh-smelling naturally. When you keep buildup from happening in the first place, odors rarely become an issue at all.
What are some safe cleaning materials and methods?
When it comes to cleaning a pet food dispenser, sticking to safe, pet-friendly materials and gentle methods is essential—harsh chemicals or abrasive tools can leave residues that might harm your pet or damage the unit's plastic, seals, or electronic parts over time.
Recommended safe cleaning materials include:
- Mild dish soap (unscented, free of strong fragrances, dyes, or antibacterial agents)
- Warm (not hot) water
- Soft microfiber cloths or non-abrasive sponges
- A soft-bristle brush (like a clean toothbrush) for reaching into crevices or around the dispensing mechanism
- White vinegar diluted with water (1:1 ratio) as a natural, odor-neutralizing alternative for tougher residue—only if the manufacturer approves it for your model
- Plain water for final rinses
Avoid: bleach, ammonia-based cleaners, strong disinfectants, abrasive scrubbers (steel wool, scouring pads), alcohol-based wipes, or essential oil sprays—these can linger as residues, irritate your pet's digestive system if traces mix with food, or degrade plastic components.
Safe cleaning methods follow a straightforward, low-risk approach:
For daily or quick cleans, use a damp cloth with a drop of mild soap to wipe the bowl and exterior. Rinse thoroughly with plain water if needed, then dry completely with a clean towel.
During weekly or deeper sessions, unplug the unit first (always prioritize safety with electronics). Remove any detachable parts, wash them separately in warm soapy water, using the soft brush gently on stuck-on bits. Avoid submerging the main motor housing or any non-removable electronic sections—wipe those with a lightly damp (not soaking) cloth instead. Rinse everything well to remove all soap traces, then air-dry fully in a well-ventilated spot. Reassemble only when parts are bone-dry to prevent moisture from getting trapped.
If using a vinegar solution for odor-prone areas, apply it sparingly, let it sit briefly (a minute or two), then rinse multiple times and dry thoroughly. This keeps things hygienic without introducing anything risky.
By keeping materials gentle and methods simple, you maintain cleanliness, protect your pet's health, and preserve the dispenser's functionality without unnecessary wear or potential contamination. Always double-check your specific model's manual for any unique dos and don'ts.
Avoiding Common Maintenance Mistakes
Many maintenance issues arise from good intentions paired with incorrect methods.
Over-cleaning with excessive water can introduce moisture into areas that should remain dry. Rushing reassembly before parts are fully dry may affect performance.
Ignoring small crumbs because the device still works can lead to gradual buildup. Maintenance is most effective when it is preventative rather than reactive.
Practical Reference Table: Maintenance Overview
| Area of the Dispenser | Suggested Care Focus | General Frequency |
|---|---|---|
| Feeding bowl | Rinse and wipe | Daily or as needed |
| Food storage area | Remove crumbs | Weekly |
| Dispensing channel | Inspect and clean | Weekly |
| Exterior surface | Dust removal | Weekly |
| Removable parts | Deep cleaning | Occasionally |
What role do habits play in sustaining success?
Habits shape outcomes far more than the fanciest tools ever could. When you weave cleaning into the same rhythm as feeding your pet, it stops feeling like a separate chore and just becomes part of the routine.
People who build those small cleaning moments right into their daily pet care—wiping the bowl while they're already scooping food, brushing out stray kibble during refill time—almost always mention the same thing: the dispenser stays reliable longer, with far fewer clogs, odors, or unexpected hiccups. The device quietly does its job in the background instead of turning into something that demands constant troubleshooting or fixes.
The real secret to effective maintenance isn't intensity; it's making the process feel instinctive and effortless. When upkeep flows naturally alongside everything else you do for your pet, it requires almost no extra mental energy—and that consistency delivers the biggest payoff in performance, freshness, and peace of mind.
Related Products
-
Cat Litter Tray For Multiple Cats Automatic Cat Litter Tray
Cat Litter Tray for Multiple Cats Automatic Cat Litter Tray – Product Features The high-pressure washable, safety-focused design facilitates compr...
View More -
Self-Cleaning Stainless Steel Smart Cat Litter Tray
Self-Cleaning Stainless Steel Smart Cat Litter Tray – Product FeaturesThe preferred choice for non-profit organisations; compatible with open-top bi...
View More -
Second-Generation Fully Automatic Cat Litter Tray
Second-Generation Fully Automatic Cat Litter Tray – Product Features With a large 65-litre capacity, it easily accommodates a substantial amount of ...
View More -
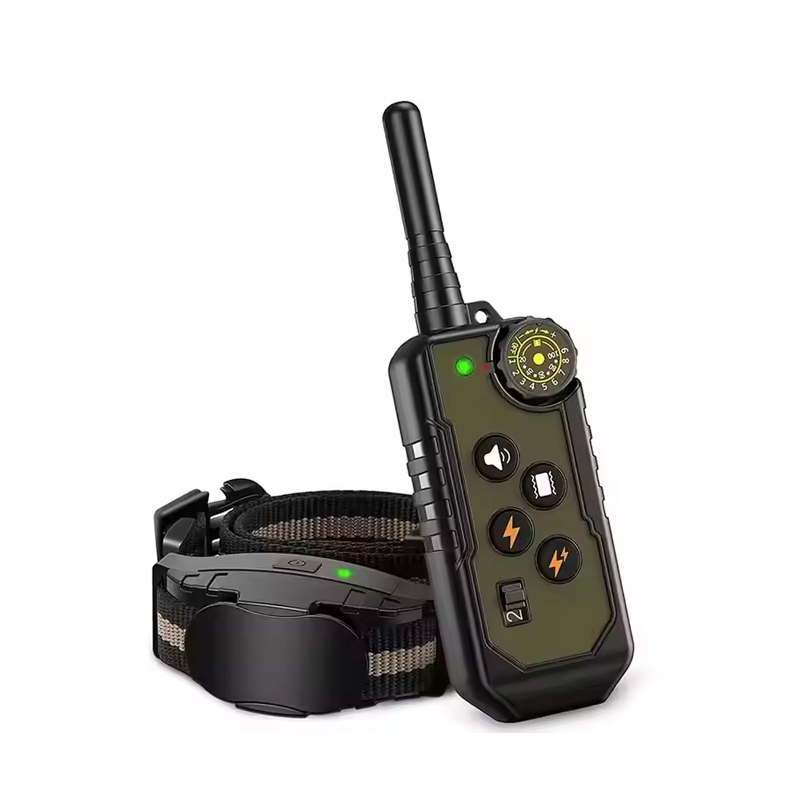
Multi-Mode Easy To Operate Training Shock Collar
The Multi-mode, easy-to-operate training Shock Collar is designed to provide a practical solution for owners seeking a safe and effective way to train...
View More -
Waterproof Adjustable Polyester Training Shock Collar
The Waterproof Adjustable Polyester Training Shock Collar offers a reliable solution for pet owners seeking a versatile and durable collar to enhance ...
View More -
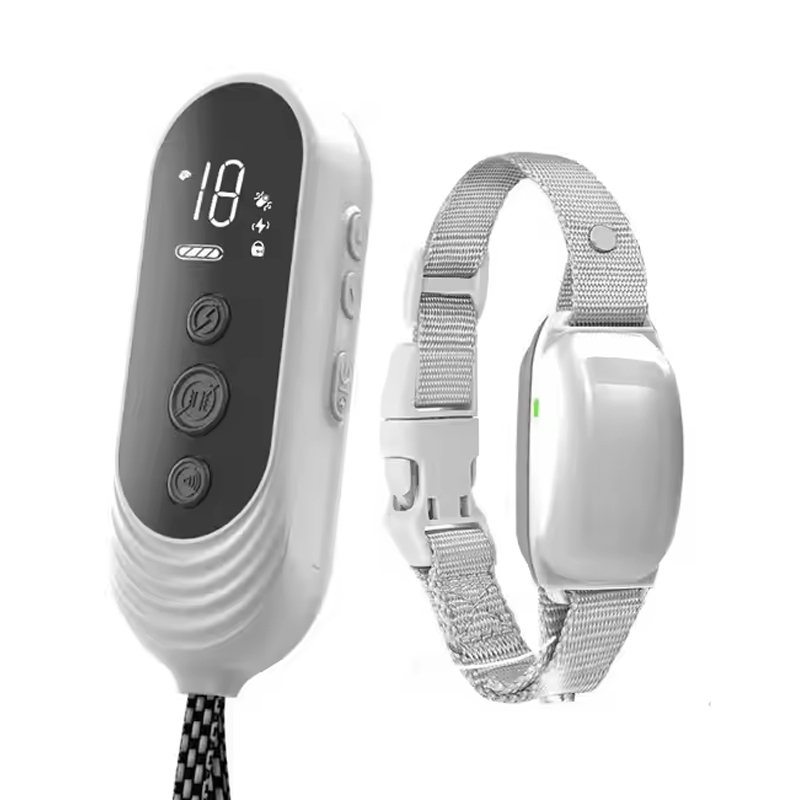
Display Remote Control Training Shock Collar
The Display Remote Control Training Shock Collar is designed to provide pet owners with a reliable and humane solution for training their dogs. Whethe...
View More -
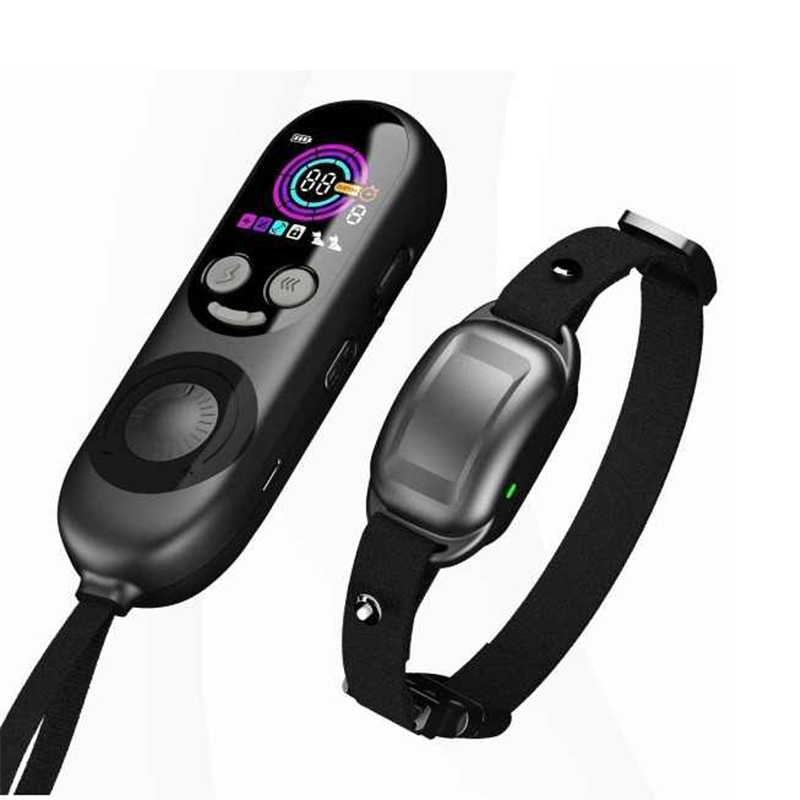
Multi-Function Long Distancetraining Shock Collar
The Multi-function Long Distance Training Shock Collar is a highly versatile tool designed to support your dog’s training across various environment...
View More -
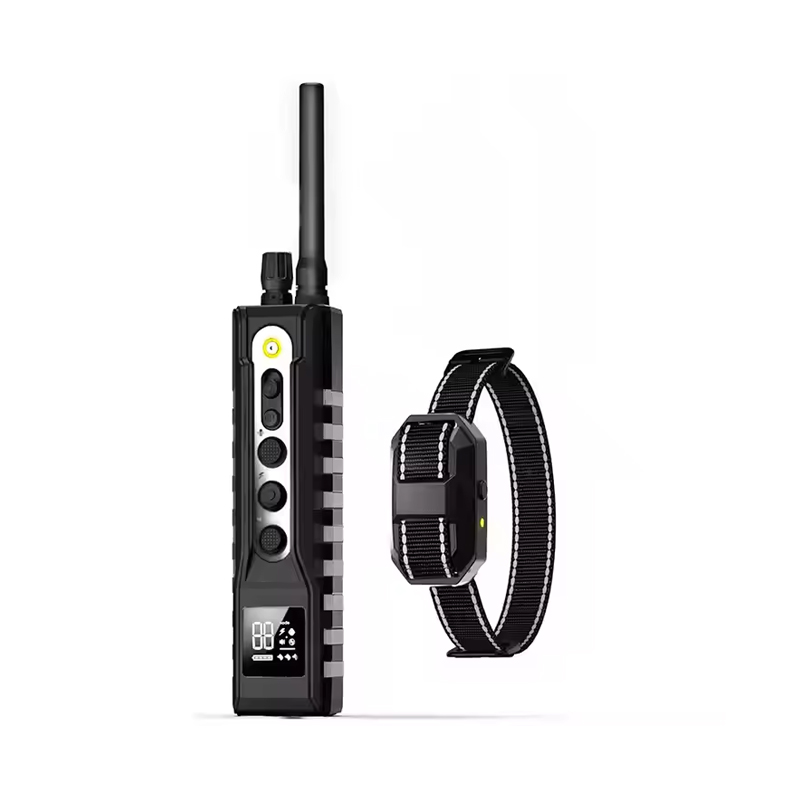
Remote Control Waterproof Training Shock Collar
The Remote Control Waterproof Training Shock Collar is an advanced training tool designed to help pet owners effectively manage their dogs’ behavior...
View More
Pet Products
If you have any questions, please
get in touch with us.
+86-13486854214
E-mail: [email protected]
Address: No. 258, Qingchuan Road, Huzhen Town, Jinyun County, Lishui City, Zhejiang Province
Copyright © Zhejiang Beijing Technology Co., Ltd.

OEM/ODM Smart Pet Care Factory